
Retail packaging: folding cartons for the shelf
Shelf products such as cosmetics, supplements and small goods are usually sold in folding cartons. DielineDock helps you size a carton, place your brand artwork and preview it in 3D before you talk to a printer.
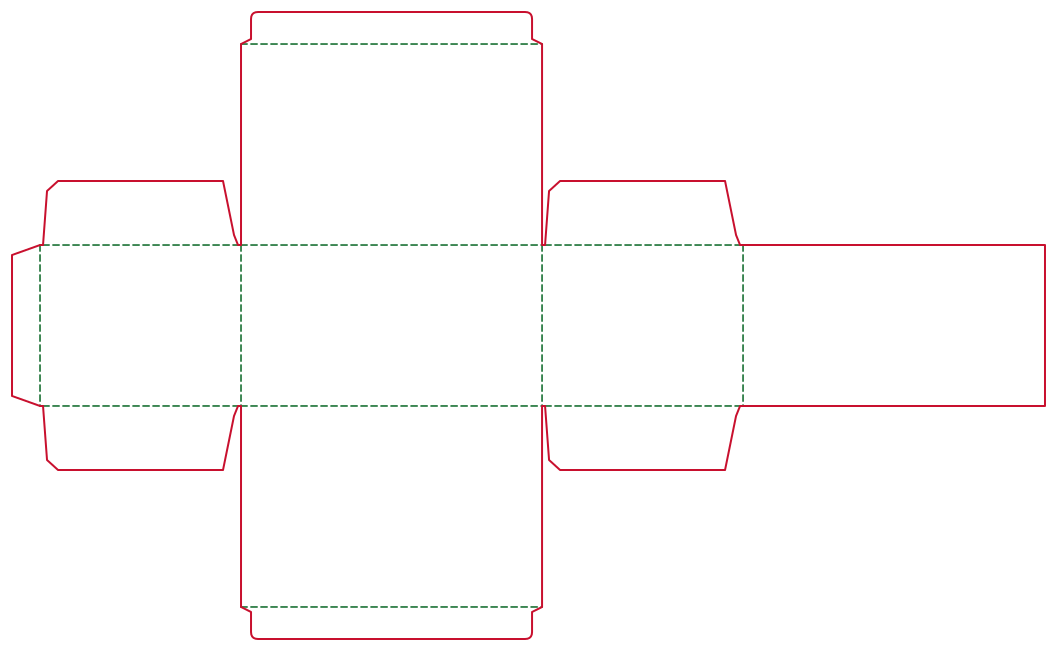
Who uses it
Small brands, independent makers and designers preparing cartons for cosmetics, skincare, supplements, candles, accessories and other small goods sold in shops.
The packaging problems they face
A retail carton has to fit the product snugly, stand upright on a shelf, show the brand on the front and carry required text on the sides or back. A logo on the wrong panel or text across a fold is easy to miss on a flat drawing and costly to fix after printing.
Recommended box styles
- Straight Tuck End: a familiar folding carton with both lids opening from the same face, a practical default for tubes, jars and bottles.
- Reverse Tuck End: the same body with the top and bottom lids opening from opposite faces, worth comparing with the Straight Tuck End.
- Lid & Base: a two-piece box for premium items that deserve a lift-off opening.
How to set dimensions
Measure the product at its widest points. Use the longer side of the opening as L, the shorter side as W and the height as H, then add a little clearance. Enter the inner size in millimetres and choose a material such as white board 350g or 400g, coated paper 300g or kraft board 350g. DielineDock adds board thickness automatically.
How to add brand artwork
In Design, add text, images (PNG, JPG or WebP) and colour blocks to each panel, and use align to panel to position them. Keep product names, ingredients and barcodes inside the safe area and extend backgrounds into the bleed. Warnings flag layers that cross creases, leave the safe area or use images below 300 dpi.
How to check the result in 3D
Fold the carton with the fold slider and check the front, side and top views. Confirm that the front faces the right way, nothing important sits on a dust flap and text reads correctly on the lids. The 3D model is illustrative, so use it for layout rather than measurement.
How to produce files for discussion or samples
Export a PDF from the Output workspace after signing in with an email code. Free includes one RGB Review PDF with a preview watermark, which is useful for sharing the layout. CMYK Production and Professional PDFs are part of Pro, which is not open for purchase yet. You can also share screenshots of the dieline and the 3D view with your printer or team. On Starter and Pro you can save your design as a .boxproj project file too.
What to confirm with the printer
- Board type, thickness and surface finish.
- Bleed requirement and how cut and crease lines should be marked.
- Colour process and whether a proof is provided.
- Barcode size and placement.
- Minimum order quantity, sample options and lead time.
Frequently asked questions
Which box style should I start with?
The Straight Tuck End is a practical starting point for most small shelf products. Try the Reverse Tuck End as well and compare both in 3D.
Can I use my own logo?
Yes. Add PNG, JPG or WebP images in Design. Images are read in your browser and are not uploaded while you design; when you export a PDF, the rendered artwork is sent to our server to create the file.
Is the carton ready for production?
Not automatically. Review the dieline with your printer and approve a physical sample before ordering.